
Many parents dream of crafting a nursery that offers comfort and functionality, yet is stylish. One of the things that can really make your little one’s space look fantastic for displaying toys and treasures is floating bookshelves! The modern design of these shelves enables you to display children’s possessions in an accessible manner, and building your own floating bookshelves from scratch becomes a delightful experience, while giving you full control over their dimensions and appearance by customizing them to complement your other nursery furnishings. On the blog today we share this guide for DIY floating bookshelves for a nursery, with all the details you need to complete the process!
Why Choose Floating Bookshelves for a Nursery?
The benefits of floating bookshelves make them an ideal selection for nursery spaces:
– Floating bookshelves require little space which makes them perfect for compact nursery areas.
– These shelves that are mounted at an appropriate height enable children to take books from them and place them back easily which promotes independent reading.
– these bookshelves produce a modern design that maintains a visually attractive and clean appearance.
– The bookshelves allow you to paint or stain them to complement your nursery theme and design.
– Attaching bookshelves to walls eliminates tipping dangers and ensures safety for young children.
Materials You’ll Need
Before you begin, gather the necessary materials:
- Choose between 1×4 or 1×6 wooden boards to achieve your preferred shelf depth
- Wood screws or nails
- Wood glue
- Sandpaper (medium and fine grit)
- Paint or stain (optional)
- Mounting brackets or wall anchors (if needed)
- Level
- Measuring tape
- Pencil
- Drill
- You will need a saw which could be a circular saw, hand saw, or table saw.
- Stud finder (optional but recommended)

Step-by-Step Instructions for DIY Floating Bookshelves for a Nursery
Step 1: Plan and Measure Your Space
Choose the spots in your nursery where you want to install the floating bookshelves. When planning your nursery bookshelf placement, take into account the height which should grow with your child’s reach spacing between shelves and the room layout.
Attach a measuring tape to determine the length of the shelves you want to create.
Floating bookshelves typically span between 18 and 36 inches long.
Arrange shelves with 12-16 inches of space between them to store books of various sizes.
Step 2: Cut the Wood
After measuring your shelf dimensions cut the wood pieces with a saw. Each floating bookshelf consists of three parts:
The back piece serves as the wall attachment component for the floating bookshelf.
The bottom piece functions as the base where books can rest.
A front lip functions as a narrow strip that stops books from sliding off the shelf.
If your shelf needs to measure 24 inches, proceed to cut the wood accordingly.
A 24-inch back piece
A 24-inch bottom piece
The front lip should measure 24 inches in length and stand approximately 1.5 inches tall.
Step 3: Sand the Wood
Start by using medium-grit sandpaper on the wood edges before finishing them with fine-grit sandpaper to achieve a smooth polished appearance. This step eliminates sharp edges that might injure small hands.
Step 4: Assemble the Shelf
Spread wood glue across the bottom piece’s edge and secure it to the back piece.
Use nails or screws to fasten the pieces together because it enhances the structure’s strength.
Secure the front lip following the same attachment method while ensuring proper alignment.
The glue should fully dry before you proceed (it typically takes several hours or overnight).
Step 5: Paint or Stain (Optional)
To introduce a splash of color or coordinate with your nursery theme you should paint or stain the shelves. Choose baby-safe non-toxic paint when your child will touch the shelves often.
Apply at least two coats for durability.
Ensure the shelves have fully dried before you mount them.
Step 6: Mount the Shelves to the Wall
Your shelves are prepared and ready for wall installation.
Find wall studs with a stud finder to ensure a stable shelf mounting.
When mounting shelves to drywall choose suitable wall anchors for proper support.
Identify the placement for each shelf by marking the wall with a level to maintain straight alignment.
Make pilot holes through both the back of the shelf and the wall for mounting preparation.
Secure the shelf with screws.
Double-check alignment and stability.
Decorating and Organizing Your Nursery Floating Shelves
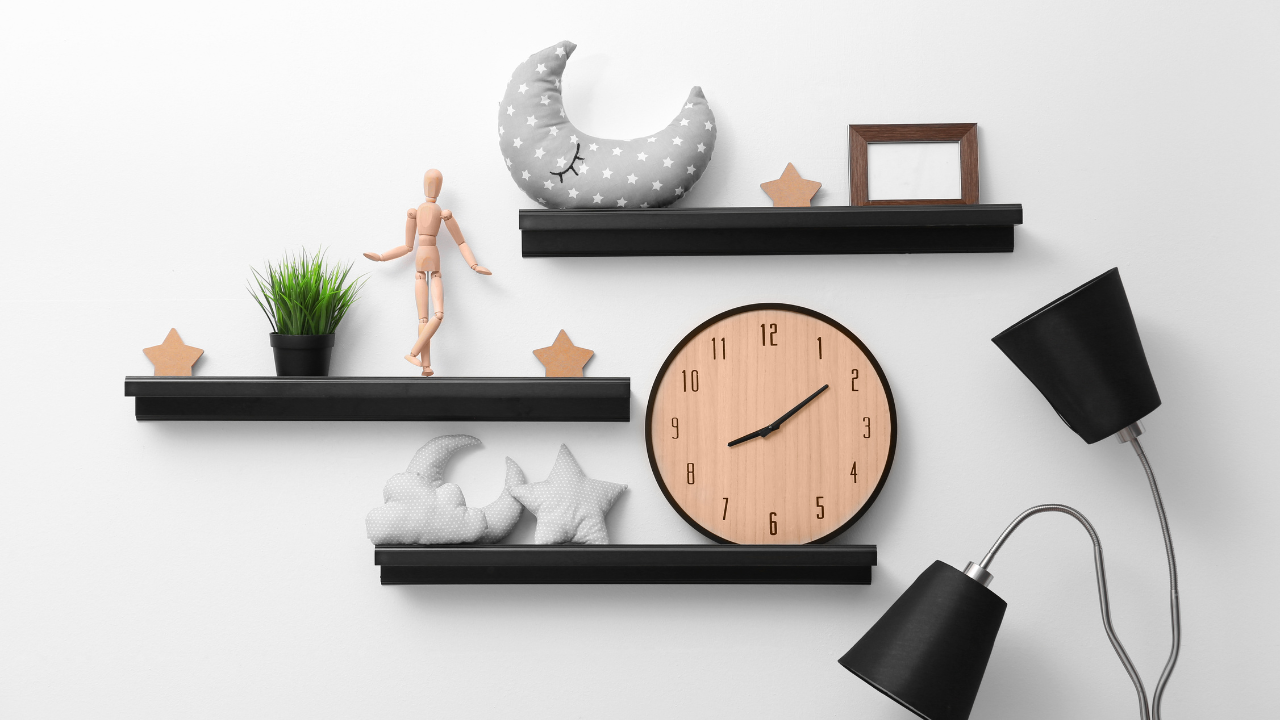
Your floating bookshelves are now ready for decoration! Here are some ideas:
– Position book covers outward on shelves so children can easily pick out books and the room gains colorful decoration.
– Create a playful look by adding small plush toys, along with framed quotes and decorative wooden letters.
– Switch out books according to the season to maintain freshnes,s while aligning with holidays and reading themes.
– Organize your books and bring character to your space with adorable bookends.
This post has some great inspiration when it comes to styling your floating bookshelves!
Safety Tips for Nursery Bookshelves
– Secure shelves by mounting them on wall studs or installing heavy-duty wall anchors.
– Place heavy items on lower shelves to ensure safety and avoid accidents.
– Make sure to frequently inspect for any loose screws and shifting after installation.
– Use non-toxic materials to ensure baby’s safety.
– Smooth the edges through sanding to prevent splinter formation.
DIY floating bookshelves for a nursery, made at home with love, provide both aesthetic appeal and practical storage solutions while remaining easy on your budget for any nursery. You can build attractive bookshelves using basic materials and minimal time investment to inspire early reading habits in your child. You can choose soft pastels or bright colors to paint the shelves or leave them in their natural state yet they will become an important feature of your nursery decor. Start this fulfilling DIY task now by picking up your tools!
See more DIY posts here!
